

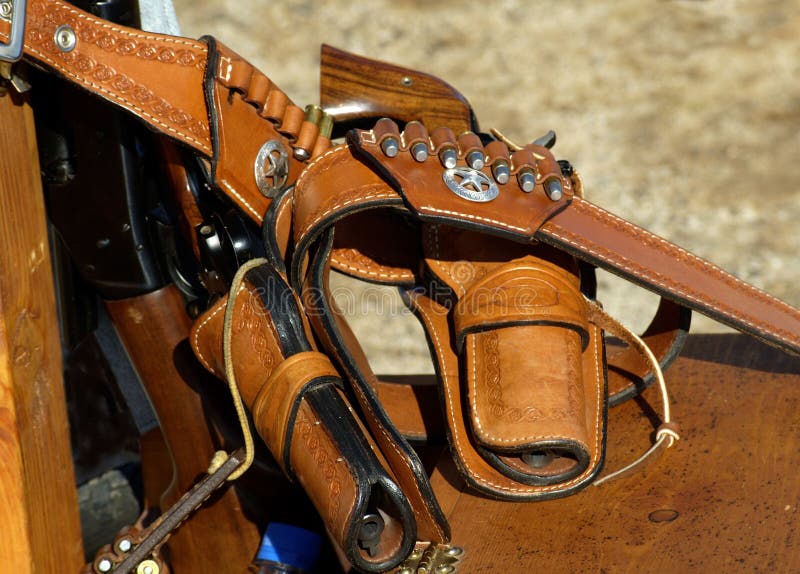
A Western crossdraw holster is designed to sit at an angle on your belt, allowing you to draw across your body instead of straight from the hip. It’s a classic Old West design, often seen in films and historical recreations, but it also comes from real practical use while riding.
Making one yourself is a solid leathercraft project. It combines pattern work, shaping, stitching, and finishing. If you’ve worked with leather before, this is a natural next step.
Understanding Crossdraw Design
Before you start, it’s important to understand what makes a holster “crossdraw.”
- it sits on the opposite side of your dominant hand
- it’s angled forward for easier reach
- it allows a smoother draw while seated or riding
This angle is what you’ll build into your pattern.

What You’ll Need
Materials:
- vegetable-tanned leather (6–8 oz recommended)
- thread (waxed for durability)
- leather dye and finish
Tools:
- sharp knife
- stitching needles
- hole punch or stitching chisels
- edge beveler and burnisher
- water (for molding)
Vegetable-tanned leather is essential because it can be shaped and molded.
Step 1: Create the Pattern
Start by designing your holster shape.
- trace the outline of your revolver (leave extra space)
- design a fold-over or two-piece pattern
- include a belt slot with a forward angle
The angle is key. This is what gives it the crossdraw function.
Step 2: Cut the Leather
Transfer your pattern onto the leather.
- cut clean, smooth edges
- avoid jagged lines
- double-check alignment
Precision here affects the final fit.
Step 3: Prepare for Stitching
Before assembling:
- mark stitching lines
- punch holes using chisels or an awl
- align both sides properly
Consistent spacing is important for strength and appearance.
Step 4: Wet Mold the Holster
This is where the holster takes shape.
- dampen the leather (not soaking)
- place your wrapped firearm or a replica inside
- press and shape the leather around it
Focus on:
- trigger guard area
- cylinder shape
- overall fit
Let it dry while holding its shape.
Step 5: Stitch the Holster
Use a saddle stitch for strength.
- stitch along the marked line
- keep tension even
- reinforce stress points
Hand stitching is traditional and very strong.
Step 6: Shape the Belt Slot
Cut and shape the belt slot.
- angle it forward
- ensure it fits your belt width
- smooth edges
This determines how the holster sits on your body.
Step 7: Finish the Edges
Clean edges make a big difference.
- bevel the edges
- burnish until smooth
- remove rough spots
This improves both comfort and durability.
Step 8: Dye and Finish
Apply dye if desired.
- use even strokes
- let it dry fully
Then apply a finish to:
- protect the leather
- enhance appearance
- increase longevity
What Makes a Good Crossdraw Holster
A proper Western holster should be:
- secure but not too tight
- well-shaped to the firearm
- durable and cleanly stitched
- angled correctly for draw
It should feel natural when worn.
Common Mistakes to Avoid
Avoid:
- making the holster too tight
- skipping proper molding
- uneven stitching
- incorrect belt angle
These affect both function and comfort.
How This Connects to Western Craftsmanship
A crossdraw holster is a perfect example of Western leatherwork.
It’s built for:
- function
- durability
- real use
The same principles apply to other Western leather goods.
At WildWestWears, jackets and vests follow this same philosophy. Made from real leather and cowhide, they are designed to last and improve with wear, not just look good at first.
If you’re exploring Western leather gear, you can visit:
👉 https://wildwestwears.com
Final Thought
Making a Western crossdraw holster is about more than just crafting leather.
It’s about understanding how design meets function.
Every cut, every stitch, every curve serves a purpose.
And when it’s done right, it becomes something that doesn’t just look Western.
It works like it belongs there.